Overview

Move operation design tool plans the migratory pathway of the robot on a two-dimensional plane. It is included in OpenHRP from version 3.1.0.beta3. Move operation design tool consists of move operation design components which can be used also as the RT component, and the PathPlanning view which is one of the views of GrxUI. First of all, please check a rough procedure by an animation.

Configuration

Eclipse starting and display of a perspective

Please start Eclipse and display a GrxUI perspective. When the GrxUI perspective is not displayed, click "Open perspective" -> "others" and choose GrxUI from a list.
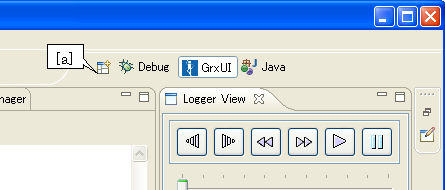
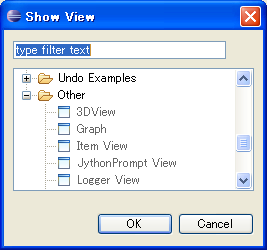
Open perspective

The check of a required view

If 3DView、Path Planning、Logger ViewProperty ViewItem Vieware not displayed, Please click "Window"->"Display of view"->"others" from a menu bar to add them.

add view

Construction of a scene

You load the model file of the robot and the obstacle, and build the scene for designing move operation.

Loading of the existing project

Please choose "GrxUI"->"load of project" from a menu bar. Please choose the project file to load.

building of a new scene

Please right-click "Model" by Item View, choose "load". Please choose the file to load in a file selection dialog.
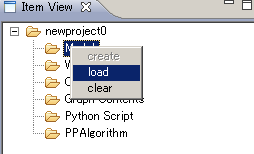
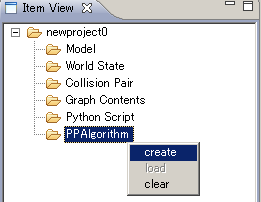
loading a model file

Creation of a World State item

Please right-click "World State" by Item View, choose "create".

Creation of a collision pair

Please create the collision pair between a robot and an obstacle by Collision view.

Creation of the parameter set for algorithms

Please right-click "PPArgolithm" by Item View, choose "create". If you save a project, the parameter for algorithms is also saved simultaneously.

Creation of the parameter

Connection with a course plan engine

Please start openhrp-path-planner. Please prepare rtc.conf which described the position of the suitable name server in the directory. Next, please change a perspective into RT System Editor, newly open a stem editor, and drag a Path component and a PathConsumer component. Please connect a service port and a consumer port.
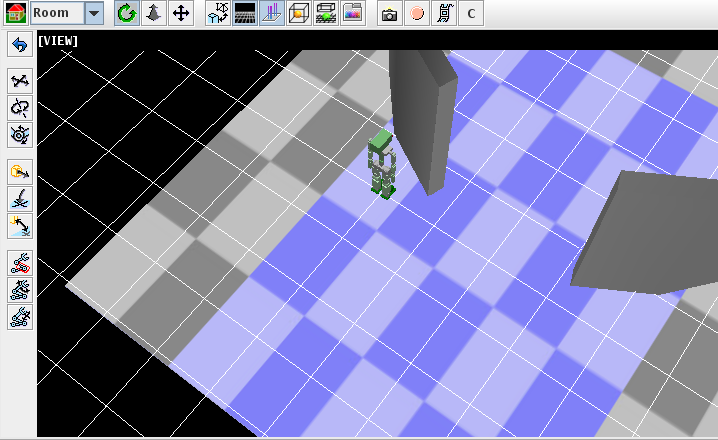
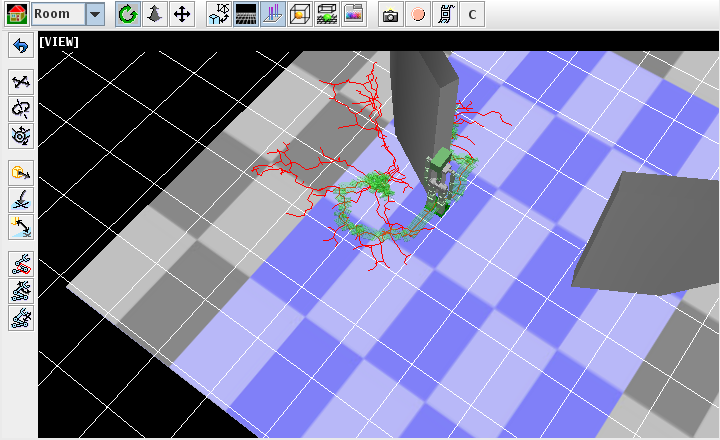
Connection with a course plan engine

Calculation of a course plan

You set a parameter with a PathPlanner view (the following figure).

Path Planning view
</div>

<h3>Selection of a model and an algorithm</h3>

Please choose the model and the shifting algorithm which the model has. <br>
Unless it is connected with the move operation design component, some setting items, such as a shifting algorithm, are not displayed. 
When they are not displayed, please check connection using RT System Editor. 

<h3>The starting point and the terminal point</h3>

You set up the starting point and the terminal point of path planning.
Please move a robot to the starting point or a terminal point, and push the starting point or a terminal point setup button. <br>
You can also input a numerical value into input area directly. <br>
A push on the SET button will move a robot to the position.<br>

<h3>Tolerance of a collision check </h3>

You set up the tolerance of a collision check. 
When the distance between two objects is smaller than this value, it is considered that those objects have collided. 
Therefore, the robot can always maintain the distance more than fixed between obstacles.

<h3>A path plan algorithm, a parameter selection box </h3>

You choose the algorithm and parameter of a path plan.<br>
Please choose the algorithm from an algorithm selection box. 
At present, RRT and PRM are registered. 
When the algorithm is not displayed, please check connection with a move operation design component. 
Next, please choose the property of an algorithm from an Algorithm Properties selection box. 
If you push the Update button of Algorithm Properties, the property for  chosen algorithms will be set as a PPAlgorithm item from a move operation design component. <br>
The value of a property can be changed by Property View.
<br>

<div align=center>
<img src=
The property common to PRM and RRT is as follows. 。

  • Random number maximum point ・・・ The maximum of the range of the point struck at random (max-x, max-y)
  • Random number minimum point ・・・ The minimum of the range of the point struck at random (min-x, min-y)
  • Weight of distance ・・・ Weight at the time of computing distance (weight-x, weight-y, weight-theta)
  • Interpolation distance ・・・ It is interpolated so that the adjoining distance of two points may become below this value (interpolation-distance). If this value is small, a collision check will divide for two points finely. Although it stops overlooking a collision, it requires computation time. Conversely, a collision may be overlooked if a big value is set up.

By default, a random number is the range of (-2,-2) ~ (2,2), interpolation distance is 0.1、all weight of distance is 1.

A PRM algorithm has the following properties.

  • Neighborhood distance ・・・ Neighborhood distance which connects edge (max-dist). If the distance of two points struck at random becomes below in this value, and the collision of two points will be checked and it will not collide, the edge which connects two points is added to a road map.
  • The number of points ・・・ The number of the points struck at random (max-points)

By default, Neighborhood distance is 1.0, The number of points is 100.

A RRT algorithm has the following properties.

  • Neighborhood distance ・・・ Distance of the node to which RRT is added (eps)
  • The maximum of the number of times of trial ・・・ The number of times of closing search (max-trials)

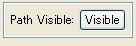
By default, Neighborhood distance is 1.0, The maximum of the number of times of trial is 10000.

Path plan

Please push a calculation start button to start a path plan. A calculation indicator moves and a dialog is displayed. Please push the button of a dialog, for interrupting calculation on the way.

The display of a course and a road map

After calculation is completed, selection of a course display button is attained and it can change a display and un-displaying of a course.

course display button is off
course display button is on
Moreover, if you move the button and slider on Logger View, a robot will move in a course.

move in a course
move in a course
move in a course
move in a course

Optimization of a path

In order to optimize the planned path, please choose a path optimization algorithm and push the Optimize button. A display is updated by the optimized path when the path is visible.